Cement Plastering: Everything You Need to Know
Plastering is an important task to safeguard the interior walls of your home. It provides a smoother finish to the wall’s surface and adds strength. Plaster is a thin layer of mortar applied over the masonry surface. It is considered mandatory for brick-built homes as plaster works as a damp-proof coat. If applied properly, a coat of plaster can cover any uneven surfaces and make your walls look even, clean, and smooth. It also provides an adequate base for painting, distempering, whitewashing, or color washing. Plastering is also necessary for exterior walls. It can protect your building from rain and other environmental factors damaging the surface.
The primary objective of any plastering work is to protect it from environmental hazards. Secondly, plasterwork is done to cover the defective workmanship in masonry. Cement plaster is typically used in plastering the walls of a house. This article will discuss everything you need to know about cement plastering.
What is Cement Plaster?
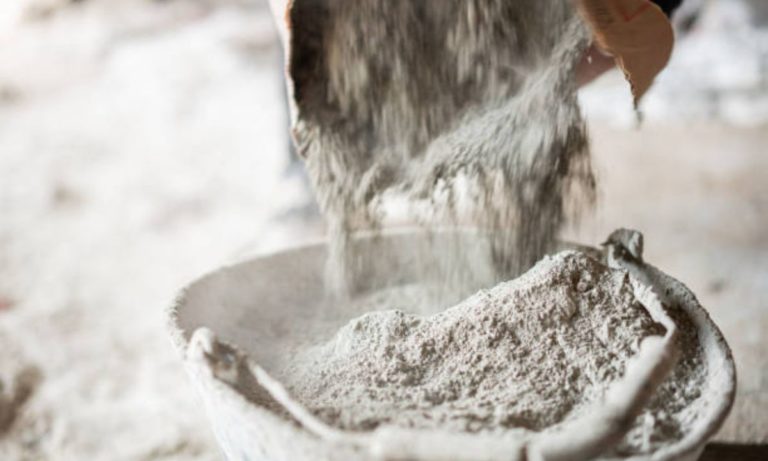
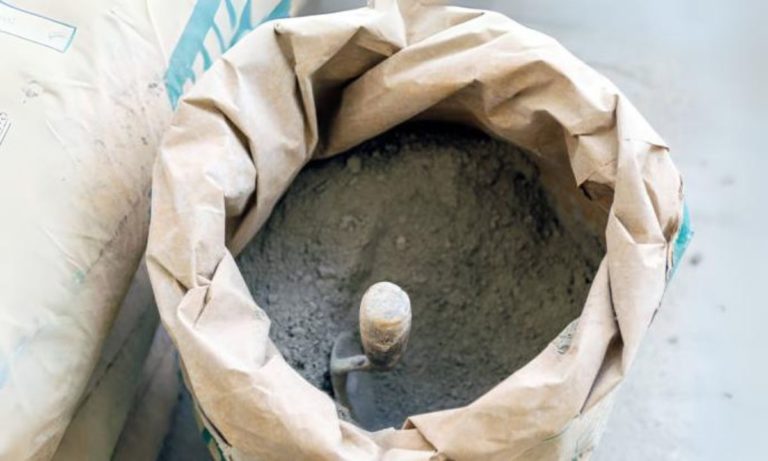
Cement plaster combines several products like Portland cement, fine aggregates, and water. There are mainly three grades of Ordinary Portland Cement. To prepare the cement plaster mix, OPC 43-grade is generally mixed with sand in different proportions. Hence, the mix is also known as cement-sand plaster. PPC cement can also be used instead of OPC in plastering work.
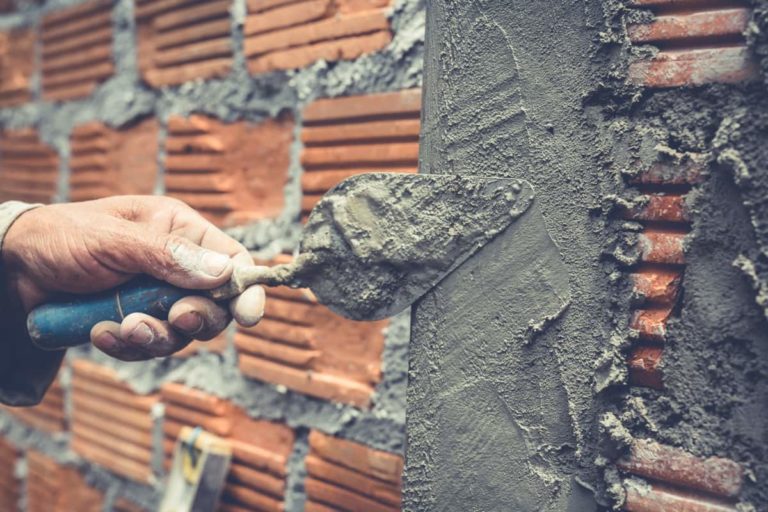
Cement plaster is a thin layer of paste applied on the wall surface. The number of plaster coats may vary depending on the requirements. For the interior surface of the walls, a single coat of plaster is sufficient to achieve desirable results. If you require a more refined finish, two coats of plaster will do the work. The thickness can range from 15 – 18 mm. If the wall surface is particularly uneven, three coats of plaster can be applied. In such cases, the first coat is the scratch or dash coat. The finish coat gives it a smooth and even surface. For the exterior of your building, two coats of plaster will do the job. Thickness may range between 12 – 18 mm.
How to Apply Cement Plaster?
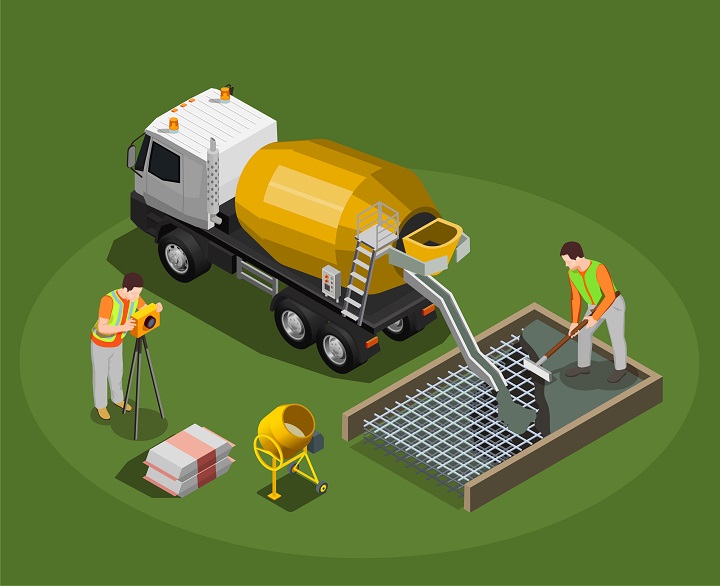
Cement plastering is professional-grade work. Skilled workers can meet your demands for a smoother finish on surface walls. Without proper experience, workers cannot provide an elegant and smooth finish on the walls. Various kinds of tools are required to perform plasterwork. Here is a list of tools:
- Surveying equipment
- Steel Brush
- Mobile scaffolds
- Aluminum section
- Wood float
- Buckets
- Wheelbarrow
- Trowel
- Plumb bob
- Spirit level
- Mixture machine
Before you can start plastering, you must make some preparations. Here are some instructions to follow:
Preparation of Surface Wall
- You can keep the mortar joints of the wall rough. It will help to provide an excellent bonding to hold plaster.
- Make sure the entire wall surface is roughed.
- Take measures to clean the entire wall surface thoroughly. There should not be any grease or oil left on the surface. The cleaning can be done with a wire brush.
- If any holes or cavities are present in the wall, make sure it is covered with appropriate material before initiating plastering work.
- If the surface wall is already smooth or the wall is old, then rake out the mortar joint to a depth of around 12 mm. It will ensure that the bonding is much better.
- Wash the entire wall. Keep the wall wet for at least 6 hours before applying cement plaster.
Groundwork for Plaster
- To get a uniform finish on the wall, you can fix dots on the wall. A dot means a patch of plaster of size 15 mm * 15 mm and a thickness of 10 mm.
- These dots are fixed horizontally on the wall and then vertically at about 2 meters. It should cover the entire wall surface.
- The Plumb bob tool can check the verticality of dots, one over the other.
- After the dots are fixed, vertical strips of plaster, also known as screeds, form between them. These screeds are used as a gauge for maintaining the even thickness of plasterwork.
Applying Under Coat or Base Coat
- For brick masonry units, the thickness of the first coat of plaster is around 12 mm. For concrete masonry, it can range between 9 – 15 mm.
- The ratio of cement and sand for first coat plaster can vary from 1:3 to 1:6.
- The screeds on the wall leave spaces on the wall surface. Apply plaster between them by using a trowel.
- You can use wooden floats and straight wooden edges to level the surface.
- After leveling, leave the first coat to set on the wall. But do not let it dry completely. Now, roughen up the surface with a scratching tool to form a key to the following coat of plaster.
Applying Finishing Coat
- The thickness of the finishing coat can range from 2 – 3 mm.
- The cement to the sand ratio for the finishing coat can be 1:4 to 1:6.
- The initial coat must be adequately damped before applying the finishing coat.
- A smooth wooden float will help you gain a better finish in the final coat.
- You should make sure jointing marks are avoided by applying the coat from top to bottom at one operation.
Curing of Plastering works
- After the plastering work is finished, the wall should remain damped for at least seven days by water sprinklers. It will make sure the whole surface is appropriately wet. Curing is necessary to gain enough strength and hardness.
- Gunny bags or other materials can keep the exterior wall well-damped.
- Improper curing can lead to cracks and unevenness on the surface. So, make sure proper curing methods are followed.
- Curing should be done after 24 hours of finishing plastering work.
- It is beneficial to keep a gap of seven days between the first coat and the second coat.
- Each coat should be kept wet continuously for about five days at least.
- A more extended curing period might be necessary to gain maximum strength in colder regions.
- In hotter climates, the curing process should be started as soon as the cement mortar shows setting evidence. Various types of curing methods are applied depending on the weather conditions.
Different Thickness of Cement Plasterwork
Cement plaster thickness mainly depends on the composition of materials and the surface characteristics to be plastered. Here is a chart showing the recommended thickness of plasterwork for regular home finishes.
| Coat of Cement Plaster | Thickness (In mm) |
| Single Coat Plaster | 10 – 15 |
| Under Coat for Two Coat Plaster | 10 – 12 |
| Finishing Coat for Two Coat Plaster | 3 – 8 |
| Base Coat for Three Coat Plaster | 10 – 15 |
| Second Coat for Three Coat Plaster | 3 – 8 |
| Finishing Coat for Three Coat Plaster | 3 – 5 |
Source: The Constructor
The finishing coat thickness can vary depending on the condition of the wall and other factors. It should be sufficiently thick to support the site conditions. As a standard of work, the total thickness of a two-coat plaster should not surpass 20 mm. Similarly, a three-coat plaster thickness should be under 25 mm. Generally, 10 mm plaster is used on the ceiling, 15 mm on the interior walls, and 20mm on the exterior walls.
Different Cement to Sand Ratio
Maintaining a proper cement-to-sand ratio while preparing plaster mix is essential. Too much sand will make the plaster mix unusable, and the plaster will come off within a few years. Too much cement can introduce cracks in the wall. The sand used for the plasterwork should be clean, sharp, suitably graded, and free from impurities. Here is a chart showing the standard cement-to-sand ratio suitable for plasterwork.
| Coat of Cement Plaster | Cement to Sand Ratio in Cement Plaster Mix |
| Single Coat Plaster | 1:3. 1:4 1:6 |
| Under Coat for Two Coat Plaster | 1:3 1:4 1:6 |
| Finishing Coat for Two Coat Plaster | 1:3 – 1:6 |
| Base Coat for Three Coat Plaster | 1:3 1:4 1:6 |
| Second Coat for Three Coat Plaster | 1:3 – 1:6 |
| Finishing Coat for Three Coat Plaster | 1:3 – 1:6 |
Source: Dream Civil
The cement to the sand ratio in the finishing coat depends on the desired texture and color of the wall surface. After arranging the proportions, mix the ingredients thoroughly with the help of a cement mortar mixer. Add water to maintain a suitable consistency.
Mixing Water to Attain Desired Consistency
Freshwater is most suitable for making a plaster mix. Ensure the water you want to use is free from chlorides and organic impurities like silt, oils, alkalis, acids, and salts. If you source your water from a place containing these impurities, the plaster mix can be weakened.
The amount of water should be around 28% – 30% by weight of the cement and an additional 4% by weight of all the aggregates for gaining maximum strength. However, the amount of water may vary depending on the following factors.
- The condition and nature of the aggregates
- The climate conditions and the amount of humidity present in the location
- The richness of the mix
- The composition ratio of lime in the mortar mix
- The addition of admixtures to improve the workability
For regular household plasterwork, around 20% of water is taken from the total weight of cement and aggregates. If you want to factor in exact conditions, the amount of water will vary depending on the discussed factors. Manual plastering is preferred for small-scale work, and cement plastering machines can be used for large-scale jobs.
Advantages of Cement Plaster
Here are a few advantages of applying cement plaster:
- Cement plaster creates a very durable coat on the walls and inhibits the circulation of moisture through it
- Cement plaster gains maximum efficiency compared to lime plaster.
- Cement plaster can be applied on both internal and external sides of the wall.
- Cement plaster can resist vegetation growth and chemical attacks to a certain degree
- Cement plaster can also withstand fire damage
- Cement plaster has excellent acoustic properties
Disadvantages of Cement Plaster
Despite many benefits, there are still some disadvantages to applying cement plaster. These are:
- Pre-curing and post-curing are essential for getting a good seal of plaster
- Cement plaster has a low-tension and flexural strength, which can introduce cracks
- Cement plaster cannot be applied on a smooth surface
- A lot of water is required to do plasterwork, which can create a massive hassle in places that do not have sufficient water source
- The application of cement plaster is time-consuming work and can increase the project’s overall cost.
Summary
Plasterwork is not an absolute necessity, but it can surely increase the beauty of your residence. However, plasterwork is necessary with brick masonry structures. Good plasterwork can add to the aesthetics and enhance the value of your property as it enables the base to apply extensive colors and finishes to the walls. Furthermore, it can protect your house from external environmental hazards. So, it will never hurt to extend your budget and opt for cement plasterwork.
Frequently Asked Questions (FAQs)
Which cement is best for plastering work?
Ans: OPC 43 grade is best for plastering low residential buildings, and OPC 53 grade is best for high rise buildings.
Is cement plaster better than gypsum plaster?
Ans: Gypsum offers a superior finish to cement plaster and is usually done in the interior walls. But for external walls, cement plaster is a better option.
How soon after plastering can I paint the walls?
Ans: You can paint after 4 – 6 weeks.
Can plasterwork be done while raining?
Ans: It is not advisable to do plaster work while raining as rainwater can disrupt the smooth finishes.
How to quicken the drying process of plaster?
Ans: Drying can be accelerated using heaters or heating fans.