How to Mix Cement to Produce Concrete and Mortar
Generally, cement is not directly used in construction. Cement is used to prepare concrete or mortar, which effectively fulfills construction needs. We will discuss two types of mixes that are very common and used to make robust building materials. These two mixes are concrete and mortar.
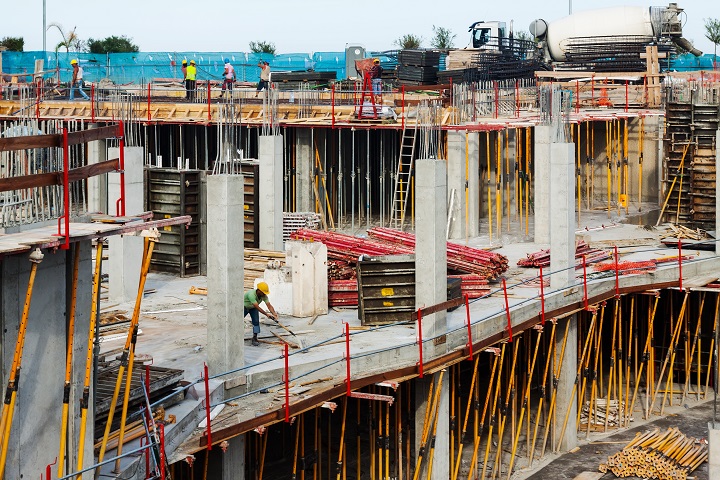
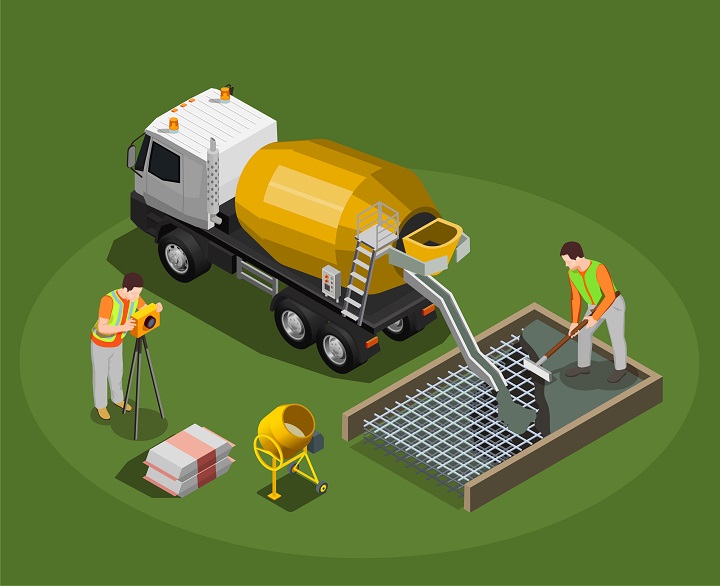
Concrete is regarded as a complete building material. It consists of aggregates, such as sand or crushed stone mixed with cement and water. Mixing cement with water creates a paste that can be formed in any shape. Hydration starts as soon as the cement comes into contact with water. After the initial setting time, the cement hardens. When aggregate is also put in the same composition, the cement paste coats and binds the whole material. The hardening process sets the concrete. After setting, concrete produces a solid and durable construction material widely used in all types of construction works. Concrete is applied in construction to build a diverse range of projects, from simple driveways and home buildings to gigantic bridges, dams, and skyscrapers. Nowadays, concrete is used to prepare different types of concrete blocks, a much-needed substitute for red bricks. Concrete blocks are far more efficient and durable than red bricks while being environmentally safe.
Mortar consists of cement and sand. It is not as strong as concrete but creates an effective glue-type material that works as an adhesive to bind other materials together. In construction work, mortar bonds brick, stone, tile, or concrete blocks into a structure. Mortar contains inert siliceous or sandy material mixed with cement and water in specific proportions so that the solution is sufficiently plastic to enable ready application with the mason’s trowel. It should be enough plastic to flow slightly, but not so much that it can collapse under the weight of masonry units.
Knowing how to mix cement to produce concrete and mortar is an excellent set of skills for an individual. This skill set can be utilized to build foundations, walls, floors, paving slabs, patios, general brickwork, general repair work, and garden walkways, among other things. You can mix concrete and mortar at your home for small-scale works. However, you might require a concrete mixer machine and professional help for significant construction works.
How to Mix Cement to Produce Concrete
Cement mixing is beneficial knowledge in many Do it Yourself (DIY) projects. You can easily mix cement in your backyard by simply following the mentioned steps in this article.
For most household jobs, you can mix the cement yourself. However, if you plan to renovate a more extensive section of your house or build a new extension, a cement mixer will be required. Operating a cement mixer might become a challenge for someone new. So, we recommend getting professional assistance if your project is large-scale.
Before you start mixing cement to produce concrete, you will require some tools and items. Make sure you have the following items at your hand before starting to work.
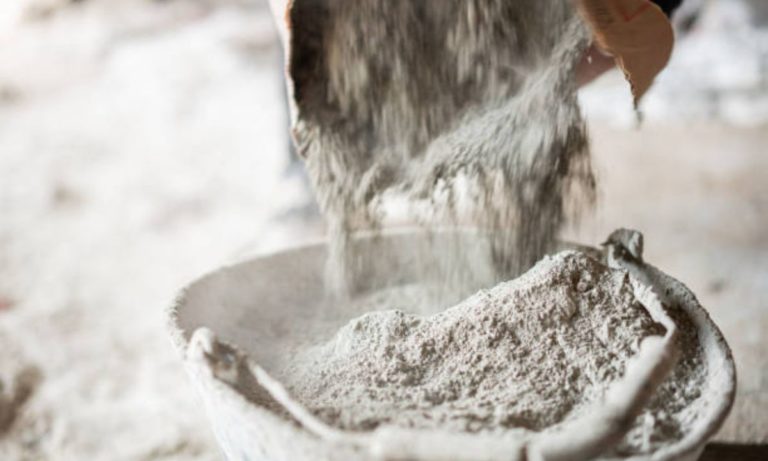
- Cement
- Sand
- Water
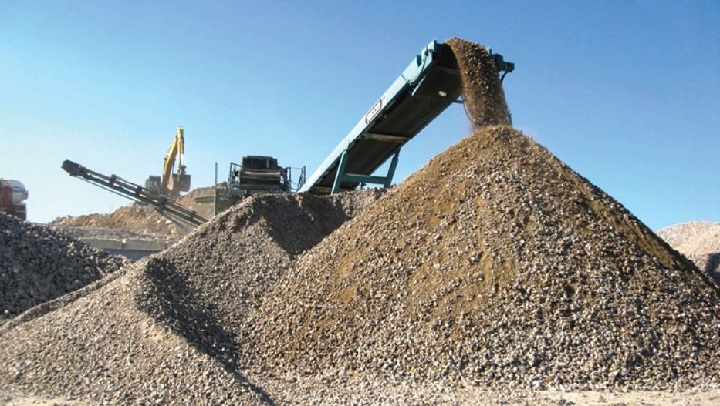
- Aggregates
However, do not confuse the terms concrete and mortar. Their mixing criteria are different. You do not require aggregates for mixing mortar. Producing mortar will be discussed later in this article.
The amount of materials required for producing concrete depends on the size of the job. General instructions are usually printed on the cement bag for appropriate ratios as they tend to differ a bit from one brand of cement to another. So, work in accordance with the manufacturer’s recommendations.
After gathering the primary ingredients for producing concrete, you should get some safety equipment to protect yourself. The following safety equipment will be necessary:
- A good quality mask to protect your mouth from cement dust
- Safety goggles
- Thick safety gloves
- Rubber boot (Optional)
Now, you will require some tools to mix cement to produce concrete. These tools are mentioned below:
- Wheelbarrow/Plastic Tub/Wooden mixing board
- A sheet of tarpaulin or thick plastic
- Plastic buckets
- Builder’s shovel
- Stiff bristle brush
After preparing all the materials and equipment, you can start working. However, it would be best to clean all the tools and mixing board or container with fresh water to wash away any debris or residue. You must also follow proper guidelines on the storage and handling of cement and aggregates so that your purchased materials do not go to waste. You can adhere to the following instructions to mix concrete.
STEP 1
First, you must measure your ingredients. Follow the manufacturer’s guidelines to place the cement, sand, aggregate, and water. Place the water in a separate clean bucket. The ratio of materials for producing concrete depends on how much strength you desire from the mix. But as a general guide, a standard concrete mix should contain 1 part cement to 2 parts sand and 4 parts aggregate. However, a mix of 1 part cement to 3 parts sand to 6 parts of aggregates is recommended for foundation work.
You should make sure how much concrete is required for your work. You should avoid preparing all of it at once because the mix will start the hardening process when you add water to it. So, the mix might become hardened before you can work with all the content. To avoid such a scenario, you should measure around half of the cement, sand, and aggregates. You can mix the other half later.
Tip the sand and aggregate onto the mixing board or in the container. If you plan to use a mixing board, form a crater in the middle of the pile. Measure out half of the cement you want to use on the job and pour this into the middle of the crater. It should create a smooth cone-like shape.
While performing this step, wear your safety goggles and mask. Pouring down cement will create a lot of dust, which is harmful to humans.
Source: Marshalls
STEP 2
Now, you can start the mixing process. You can use your shovel to mix the ingredients. It would help if you worked the shovel around the pile of cement, sand, and aggregates. Even though there is no hard and fast rule, you should mix the ingredients thoroughly. Turn the pile over and around three to four times to get a consistent color throughout the pile.
After mixing it, bring the pile together again in a cone-like shape and create another crater in the middle. The crater should be around half the diameter of the mound itself.
Now, use water to fill in this crater. You should add water until the crater is full and start mixing. Add more water if the paste does not mix well and remains dry. Make sure to move the side of the crater into the mixture to distribute water to make a consistent paste evenly. After thorough mixing, water will get absorbed into the mix, and you need to repeat the process several times. It would be best to continue the mixing process until the mixture becomes wet. However, do not worry about the consistency of the concrete, as you will be testing it in the next step.
STEP 3
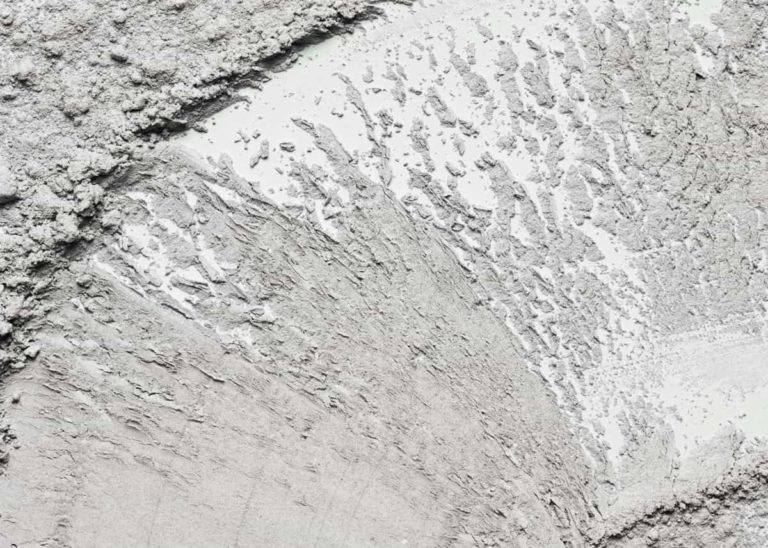
At the end of step 2, your mix should be sufficiently wet. Now, you take the edges of the shovel to make an imprint on the top of the mixture to test its consistency. Create small ridges as you go. A proper concrete mixture will be smooth and consistent. It will not be dry or crumbly.
If you think your mixture is running easily and watery, or the ridges collapse soon after making, there is too much water. You can easily adjust the consistency by adding the dry materials again to the mixture by maintaining a ratio. It will solidify the concrete mixture.
Getting a perfect mix is all about trial and error. It is very natural not to get a perfect mix on the first try. So, try adding more dry materials or water to adjust your mix.
STEP 4
After you have reached your desired consistency, it is time to work with the mixture. Concrete is generally poured or shoveled into the desired area. The extra concrete can be screeded if necessary to get a smoother finish. You can carry the concrete in a bucket or container to your workplace. If you have prepared the mixture right beside your workplace, you can use your shovel to apply concrete to your work site. You might be required to wear rubber boots to protect your feet from the mixture. Concrete can harden and create spots on clothing. So, make sure you cover yourself adequately before working with it.
STEP 5
In the last step, you should get on with the cleaning. After finishing your work, cleaning should be done immediately to ensure the concrete mix does not dry on the tools you are working with and damage them. You can use a hosepipe to clean excess concrete mix off your mixing board and tools. If some of it gets stuck, try to use a bristle brush to rub off the residue. Also, take responsibility for disposing of any waste material in the designated space.
Producing Concrete Using a Cement Mixer
We recommend taking professional assistance when using cement mixers. These machines are used for larger household jobs. However, here are some essential tips you might find helpful while using a cement mixer.
- Make sure that the cement mixer is placed in a stable and well-positioned spot
- After loading materials into the mixer, do not stop the machine
- Make sure that the cement mixer drum is pointed upwards at a 45 ° angle
- At first, mix half of what your project requires
- Gradually add water into the mixer to maintain a proper consistency
After using the mixer, do not forget to clean the mixer drum properly.
How to Mix Cement to Produce Mortar
As discussed earlier, mortar is a particular type of paste that hardens to bind bricks, stones, concrete blocks, etc. The preparation of mortar is almost similar to the preparation of concrete. The significant difference is we used aggregates in producing concrete, and we only mixed cement and sand with water to produce mortar.
Generally, 3 parts of sand are used with 1 part of cement for mortar preparation. Water should be added gradually to maintain a good consistency. Typically, three gallons of water are required to produce one bag of mortar. Fine sand is preferable for producing good-quality mortar. Sometimes lime is added to the mortar mix when projects require more robust bond formation. It is common in places that withstand higher wind. However, adding lime to the mixture will cut down its setting time. Mortar can be mixed manually or with the help of a machine. The manual mix process is the same as the concrete mix process discussed earlier. However, you will only use cement, sand, and water in the discussed ratio. If the sand ratio is increased, compressive strength will reduce.
Cement mortar is handy in a range of civil engineering work. The following list contains a few use-case scenarios:
- For binding masonry blocks like bricks, stones, cement blocks, etc.
- To produce a neat and smooth finish to the wall and concrete surface.
- For plastering works in slabs and walls.
- For filling in cracks or any joints.
- Acting as a filler material in stone masonry.
Summary
Cement is widely used in a variety of civil engineering works. However, cement is not used directly. It is one of the significant ingredients in producing concrete and mortar. Many people think that only professional masons can do the mixing work. Contrary to this belief, you can easily do it yourself by following the guidelines mentioned in this article. You only require a set of tools, some ingredients, and a place to work. You can do small-scale upgrades and repair works for your home without calling in professionals, saving time and a lot of money.
Frequently Asked Questions (FAQs)
Can I use the concrete mix as mortar?
Ans: No. There is a fundamental difference between concrete and mortar, so the materials should not be used interchangeably.
What will happen if I put too much cement in the mortar mix?
Ans: The mortar mix will become very brittle and not be usable.
What is the most robust concrete mix ratio?
Ans: To make the most robust concrete, mix 1 part cement, 2 parts sand, 3 parts aggregates, and 0.5-part water.
How to make mortar mix stronger?
Ans: Use a one-to-one ratio of cement and sand to strengthen the mortar mix.
What type of cement should I use to make concrete or mortar?
Ans: You can use Portland cement for producing concrete or mortar.